Solution Patterns: Connect, Secure and Protect with Red Hat Connectivity Link
See the Solution in Action
1. Walkthrough As a Platform Engineer
The ansible scripts we just ran have set up the following as ArgoCD applications:
-
Red Hat Connectivity Link operator and a Kuadrant instance
-
A TLS issuer for TLS certificates. [View CR]
Click to see an example and description
-
A Gateway (based on Istio Gateway) with a wildcard hostname based on the root domain. [View CR]
Click to see an example and description
-
Various policies attached to the Gateway:
-
A sample EchoAPI endpoint and it’s HTTPRoute:
-
This is service literally echoes the request and is just used here for testing purposes. [View HTTPRoute]
Click to see an example and description
-
1.1. Create a DNS Policy
Now that we have set up a secure, protected application connectivity environment, we are now ready to expose this to the Internet. We will do so by creating a DNSPolicy
-
Copy the following into the Import YAML utility accessible by the (+) button on top of the OpenShift Console
apiVersion: kuadrant.io/v1 kind: DNSPolicy metadata: name: prod-web-dnspolicy namespace: ingress-gateway spec: targetRef: name: prod-web group: gateway.networking.k8s.io kind: Gateway providerRefs: - name: prod-web-aws-credentials -
The DNSPolicy acts against a target Gateway by processing its listeners for hostnames and then creating DNS records for those hostnames.
-
Note that the DNSPolicy doesn’t contain a routingStrategy because this is a single cluster deployment. But in case of multi-cluster deployments DNSPolicy allows for
routingStrategy: loadbalancedand can optionally include load-balancing specifications. -
The targetRef sections refers to the [Gateway] created when the Ansible script was executed.
-
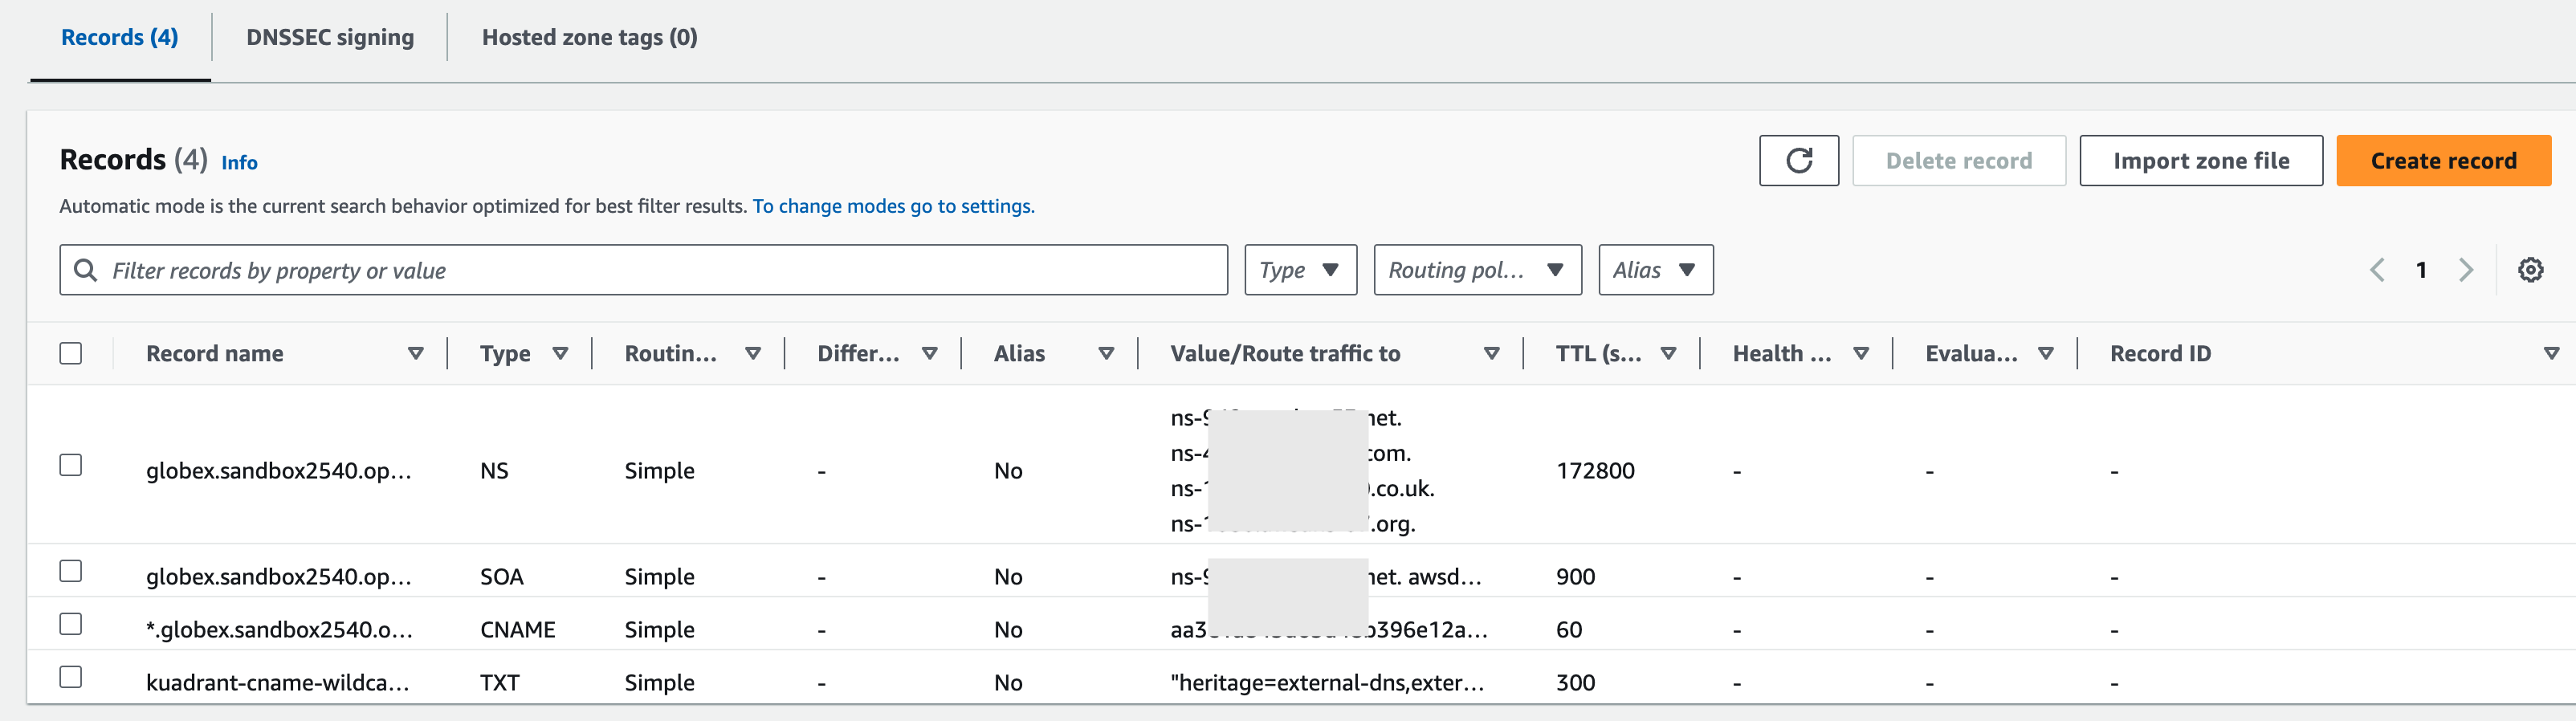
A number of DNS records are created on AWS Route 53.
1.2. Echo API Walkthrough
-
Check if the HTTPRoute works as it should. Run this curl command from a terminal.
There could be delays in the DN propogation to local development environments, including a laptop. Typically, due to the nature of DNS Records it may take a while for them to get propagated. You can make use of the AWS Terminal to execute the curlcommand instead.curl -k -w "%{http_code}" https://echo.globex.%AWSROOTZONE% -
The Output will look like this
{ "method": "GET", "path": "/", "query_string": null, "body": "", "headers": { "HTTP_HOST": "echo.%AWSROOTZONE%", ... } .. } -
Now let us run this 10 times and see how this responds to
RateLimitPolicythat was appliedfor i in {1..10}; do curl -k -w "%{http_code}" https://echo.globex.%AWSROOTZONE%; done -
You will see that you get a response 5 times, after which you see Too Many Requests 429
-
We haven’t set up a RateLimitPolicy for the echoAPI itself, and so the gateway’s default RateLimitPolicy gets applied to the echoAPI HTTPRoute. You can create another RateLimitPolicy and attach it to the echoAPI HTTPRoute to check this out.
apiVersion: kuadrant.io/v1 kind: RateLimitPolicy metadata: name: echo-api-rlp namespace: echo-api spec: limits: echoa-api: rates: - limit: 10 window: 12s targetRef: group: gateway.networking.k8s.io kind: HTTPRoute name: echo-api -
Now run this 10 times and you will see successful output from the echoAPI for all 10 requests. Make sure you allow for a reasonable time interval between requests.
for i in {1..10}; do curl -k -w "%{http_code}" https://echo.globex.%AWSROOTZONE%; done -
Learn more about Rate Limiting here
1.3. What’s next
In the next section, we’ll go through the Developer’s Workflow